
Affiliate Disclosure: This post contains affiliate links. If you purchase through our links we may earn a small commission at no extra cost to you.
The Room Is Smaller Than You Expected. That Is Okay.
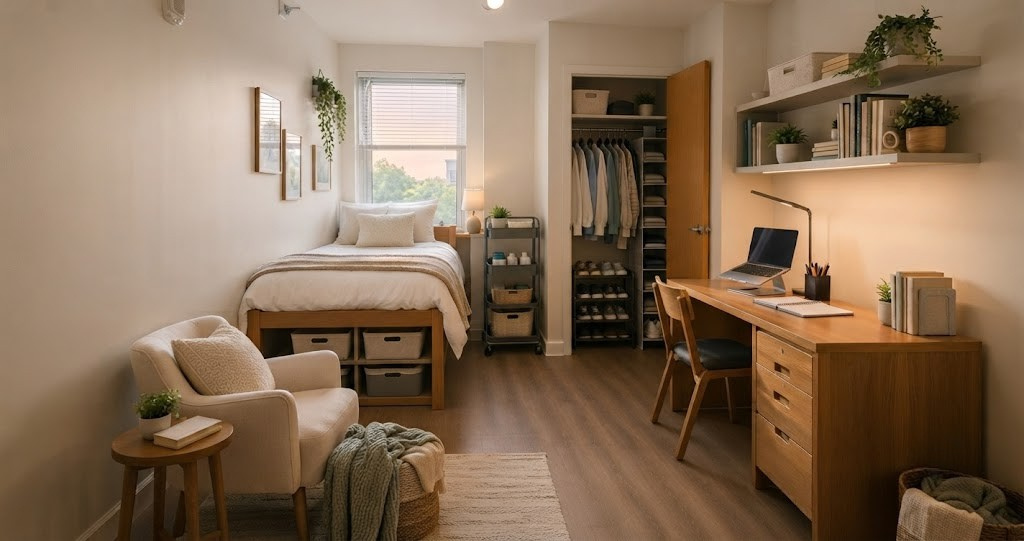
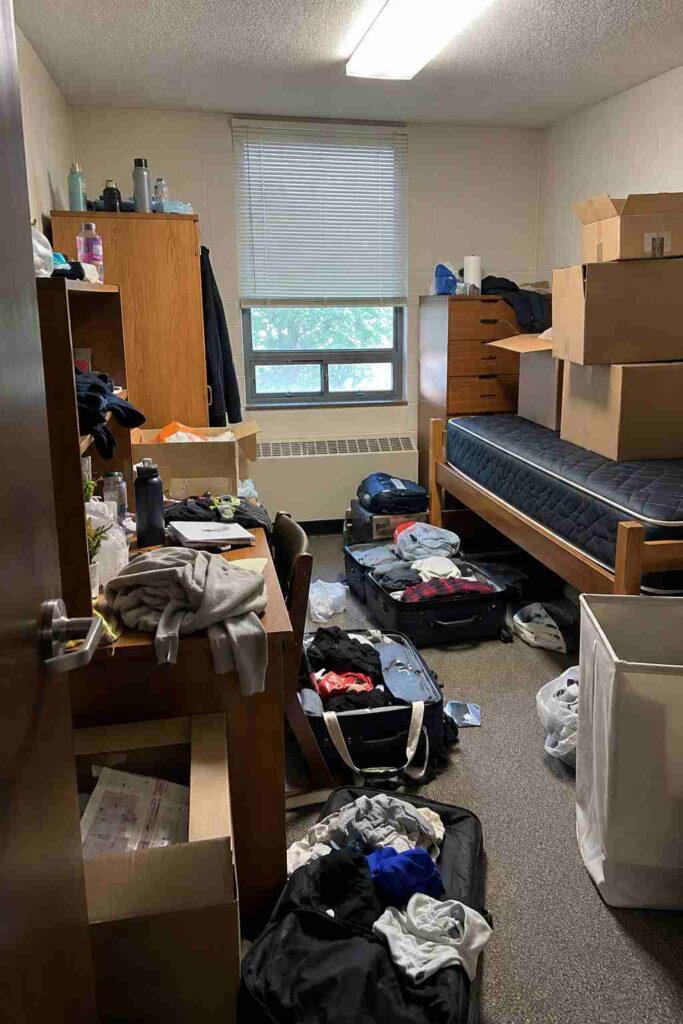
You walked in and your stomach dropped a little. That is the most normal thing in the world and nobody warns you it is going to happen. The room is small, the walls are beige, the mattress looks like it belongs in a hospital, and somewhere in the hallway someone is already crying and it is not even noon yet.
Every single organized dorm room you have ever saved on Pinterest started here. In this exact moment, with boxes stacked to the ceiling and no idea where anything goes. The difference between that Pinterest room and this one right now is not money or square footage or a naturally tidy personality. It is a system.
This article gives you that system. Not a list of storage ideas you already know. An actual step-by-step approach that takes you from move-in chaos to a room that feels like yours by the time your parents pull out of the parking lot.
Before you start shopping for anything, check our 21 dorm room essentials checklist so you know exactly what you actually need before you buy anything.
The 20 Minutes That Save You 3 Hours Later
Most people open every box at once and spend four hours wondering why nothing has a home. Do these four things first.
Contact your roommate before move-in day about who brings what. The mini fridge, fan, power strip, and vacuum specifically. Two people showing up with the same things is more common than it should be.
Get your room dimensions from the school housing website before buying any storage products. A cart that does not fit beside your desk or bags too tall for your bed frame wastes real money. Nobody does this. The people who do it never regret it.
Decide your room layout before the first box is opened. Most dorm rooms have one or two logical configurations anyway. Deciding in advance means everything gets placed once instead of moved three times.
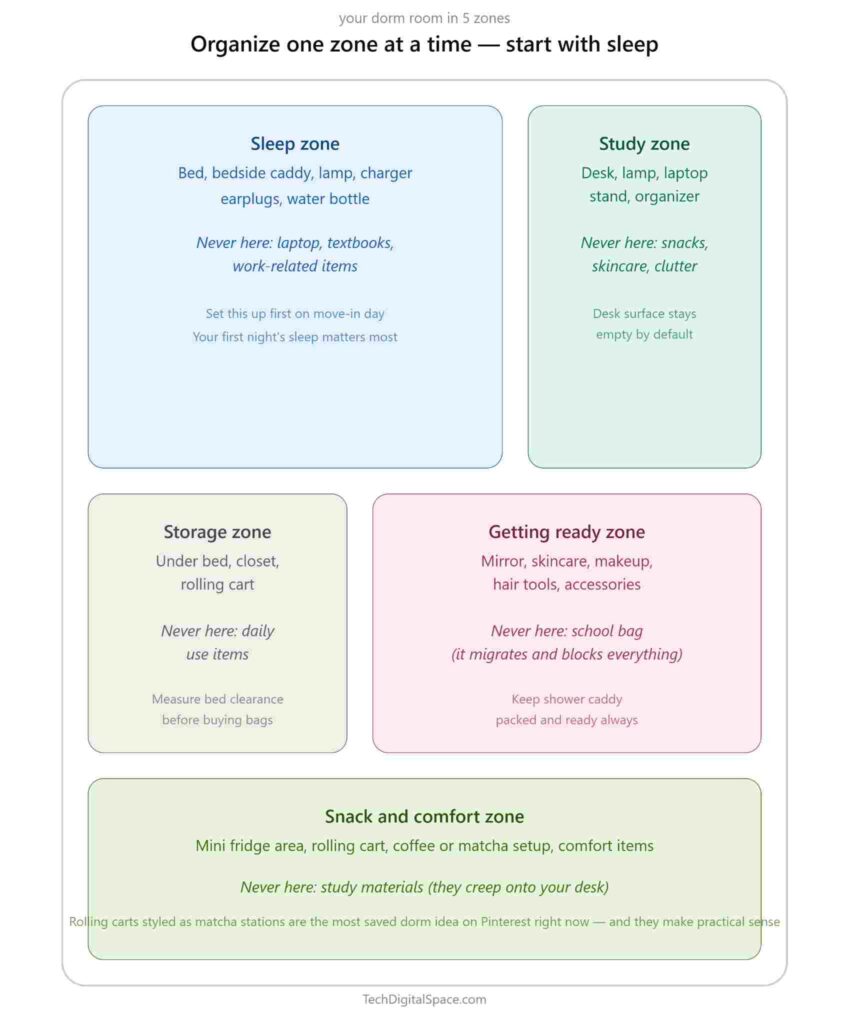
Stop Thinking of It as One Room
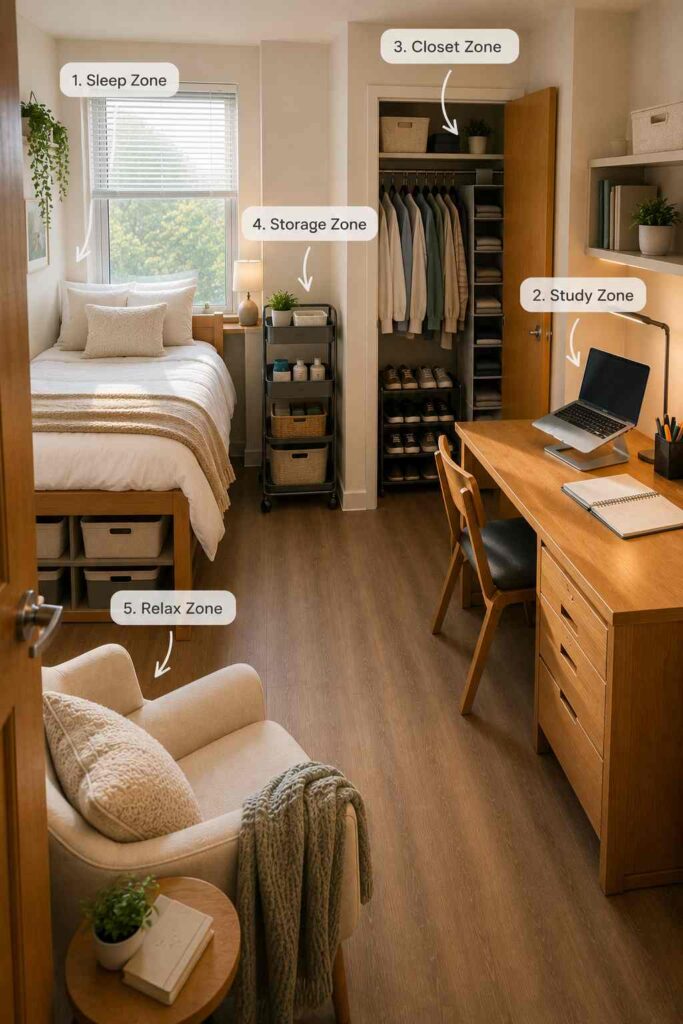
Organizing a whole room at once feels impossible because it is. Organize five small zones one at a time instead and the whole thing becomes manageable.
Every item you own belongs in exactly one zone. If something does not have a zone it probably does not belong in the room.
Sleep Zone Bed, bedside caddy, lamp, charger, earplugs, water bottle. Nothing work-related lives here. Bringing your laptop to bed every night quietly destroys your sleep by October.
Study Zone Desk, lamp, laptop stand, organizer. Nothing non-study related lives here permanently. A cluttered desk is a focus problem, not just an aesthetic one. For the full desk product breakdown check our small dorm room Amazon finds guide.
Storage Zone Under the bed, inside the closet, rolling cart. Things you do not need daily live here. Nothing from this zone should be visible from the middle of the room.
Getting Ready Zone Mirror, skincare, makeup, hair tools, accessories all in one cluster. Your morning routine takes ten minutes when everything is together. Keep your school bag out of this zone — it migrates there daily and blocks everything.
Snack and Comfort Zone Mini fridge, rolling cart, coffee or tea setup. Rolling carts styled as matcha stations are one of the most saved dorm ideas on Pinterest right now and the reason is practical, not just aesthetic. Your comfort items stay off your desk and out of your study zone.
The Most Wasted Space in Your Dorm Room Is Right in Front of You
Nobody talks about this and it changes everything. The back of your dorm room door is the highest value storage space per square foot in the entire room and most students leave it completely empty for four years.
An over-door organizer with clear pockets holds your entire toiletry collection, your daily accessories, your snack stash, your cleaning supplies, and your shoes simultaneously. That is five categories of items that would otherwise be scattered across your desk, your dresser, your floor, and your closet all consolidated into one vertical space that takes up exactly zero square feet of your room.
Add a few command hooks on the door itself for your robe, your gym bag, and your most-used jacket. The back of a door can hold more than most people put in an entire dresser and it is available in every single dorm room regardless of layout, size, or configuration. The only reason it goes unused is that most people simply never think to look there.
How to Actually Set Up Each Zone
Now that you know what the five zones are, here is how to actually set them up. The key is to do them one at a time in this order. Resist the urge to do everything at once.
Sleep Zone Setup
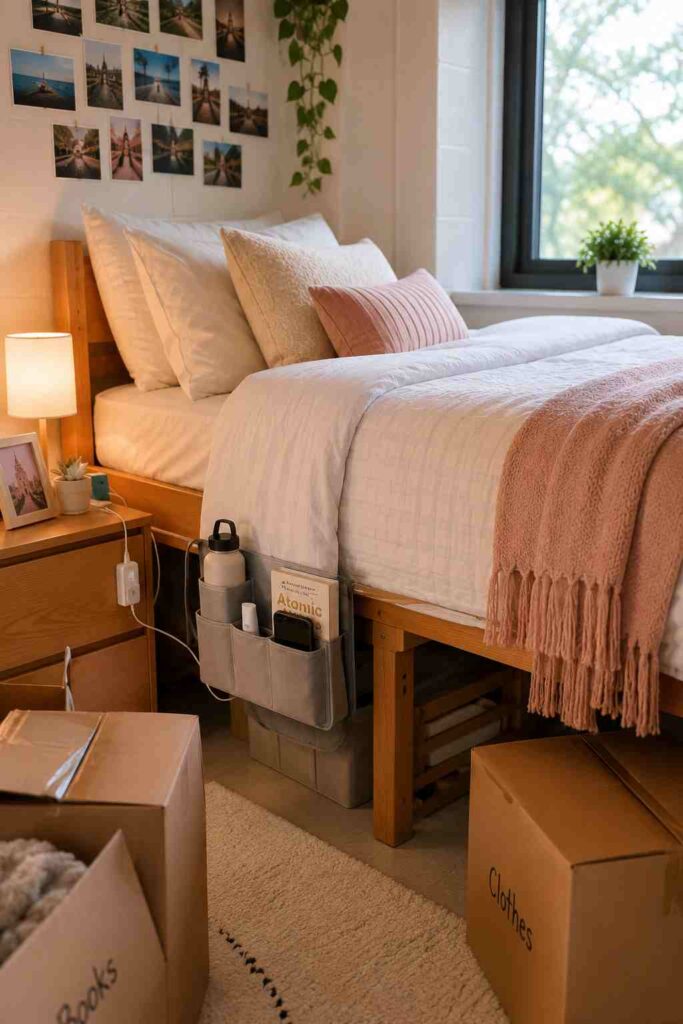
Put your bedding on first, set up your bedside caddy, plug in your lamp, and put your phone charger where it lives permanently. Nobody tells you this: set up the sleep zone before you touch anything else in the room. Your first night’s sleep in a new place matters more than any organization task you could complete on day one. A made bed with everything within reach makes the whole room feel more settled even when everything else is still in boxes.
Study Zone Setup
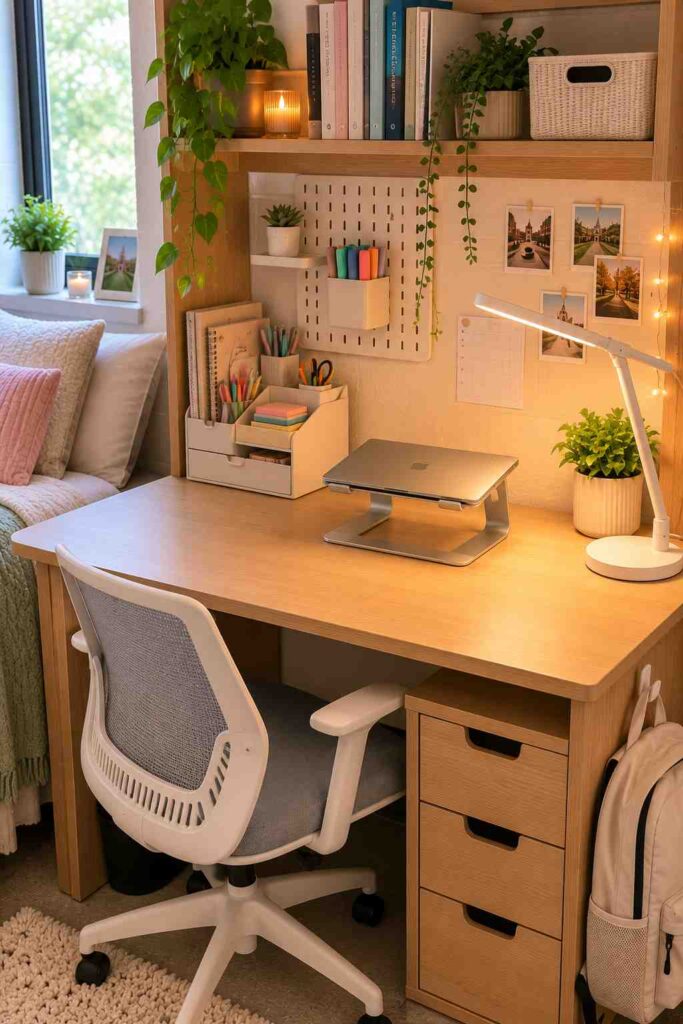
Put your lamp on the desk, set up your laptop stand, and place your desk organizer in the corner. Nobody tells you this: the desk surface should be completely empty when you sit down to work. Nothing lives on the desk surface permanently except your lamp and your laptop stand. Everything else lives in the organizer or the hutch. Starting with a clear desk on day one builds the habit before clutter has a chance to settle in.
Storage Zone Setup
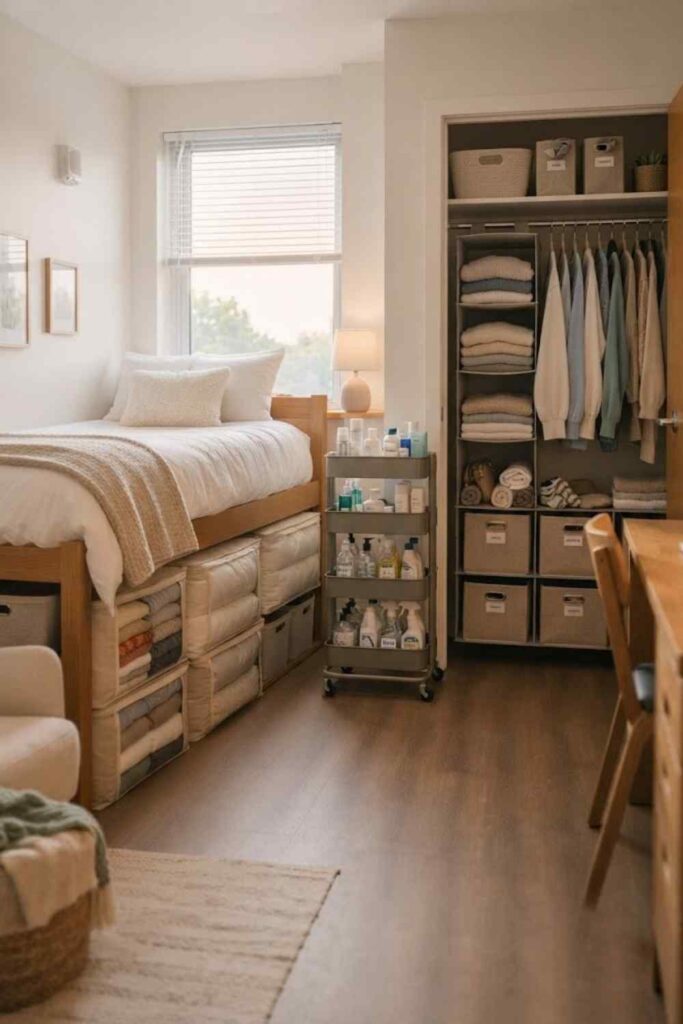
Slide your under-bed bags into place, hang your closet organizer, and position your rolling cart. Nobody tells you this: measure your under-bed clearance before buying anything for this zone. The clearance varies significantly between dorm rooms and even between different beds in the same building. A bag that does not fit is useless no matter how well-reviewed it is.
Getting Ready Zone Setup
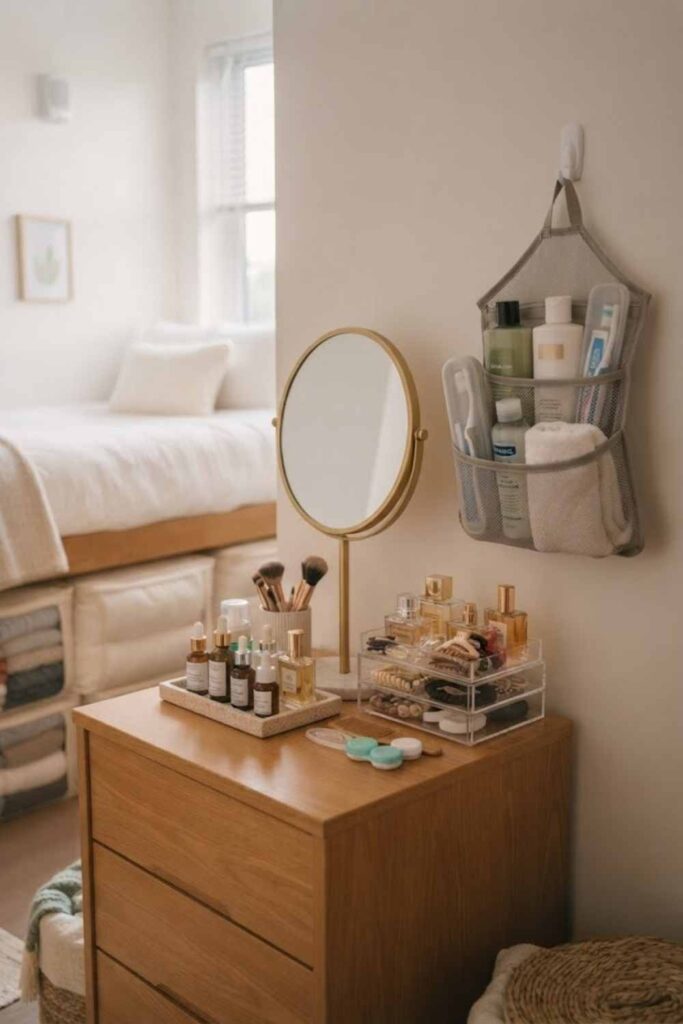
Set up your mirror, arrange your skincare and makeup in one cluster, and keep your shower caddy packed and hanging. Nobody tells you this: treat your shower caddy as a permanent kit that gets restocked, not one that gets emptied and repacked every day. In a shared bathroom situation, the extra two minutes of repacking every single morning adds up to something genuinely frustrating by November.
Snack Zone Setup
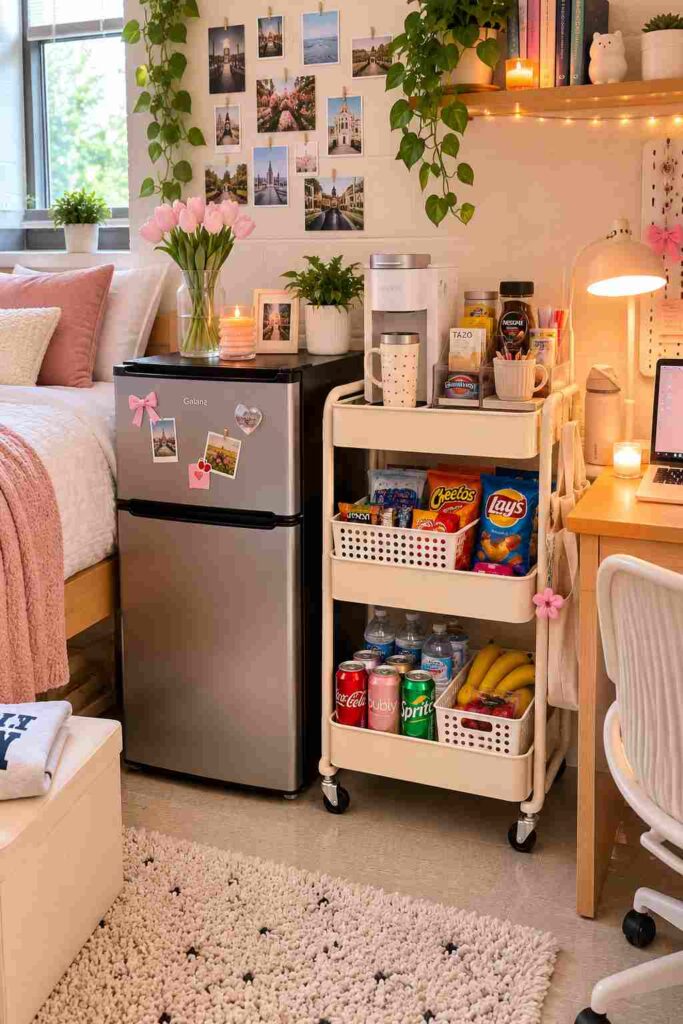
Position your mini fridge, set up your rolling cart with your coffee or tea supplies on top, and keep your snack items contained to this one area. Nobody tells you this: a rolling cart works better than a shelf for the snack zone because you can roll it directly to your desk during late-night study sessions and roll it back to the corner when you need the floor space back.
How to Double Your Closet Space in 10 Minutes
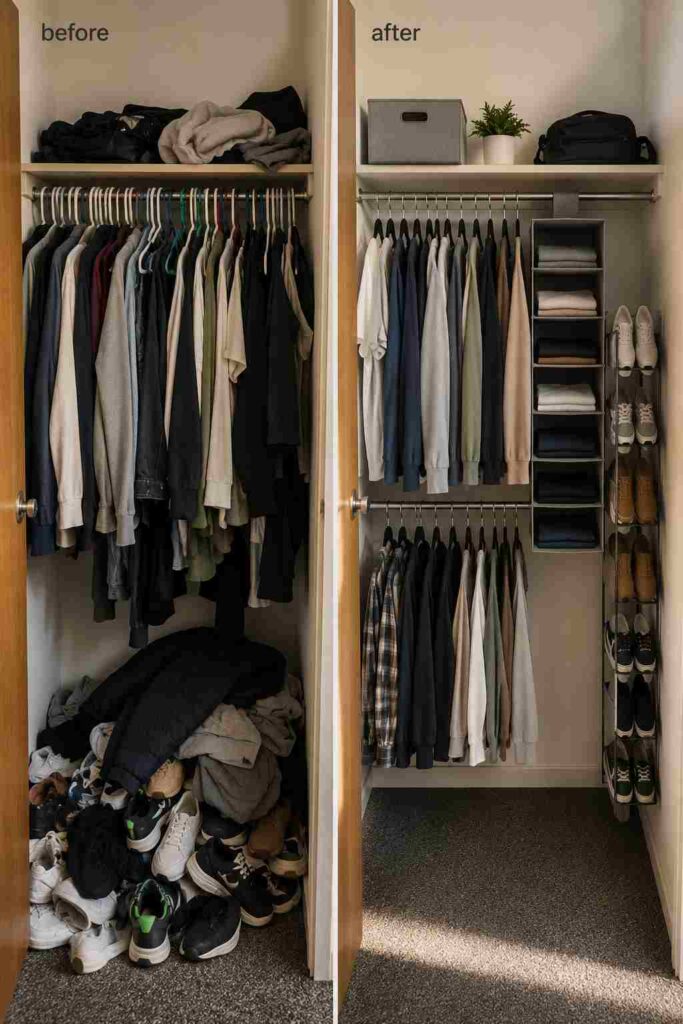
Dorm closets are surprisingly inefficient. Most have a single rod near the top, leaving a large amount of unused space underneath. One of the easiest upgrades is adding a second tension rod below shorter hanging clothes like shirts and jackets, instantly doubling your hanging capacity. Swapping bulky plastic hangers for slim velvet hangers also creates noticeably more room while keeping clothes from slipping off.
To maximize storage even further, clip a hanging shelf organizer onto the existing rod for folded clothes, towels, bags, and accessories. Finally, keep the closet floor as clear as possible by using vertical shoe storage instead of piling shoes underneath. The more you use vertical space, the larger and more organized your closet will feel.
The Drawer Trick That Stores Twice as Much
Most people stack clothes flat in drawers which means the items at the bottom never get worn because pulling them out disrupts the whole pile. File folding fixes this. Fold each item to the height of your drawer and stand it upright in rows instead of stacking. Open the drawer and you can see everything at a glance without disturbing anything.
You store nearly double the clothes in the same space and nothing gets buried. Apply this to every drawer in the room including your desk drawer and storage ottoman, not just the dresser.
It takes 20 minutes to refold everything. You will never go back to stacking.
How to Keep It Organized After Move-In Day
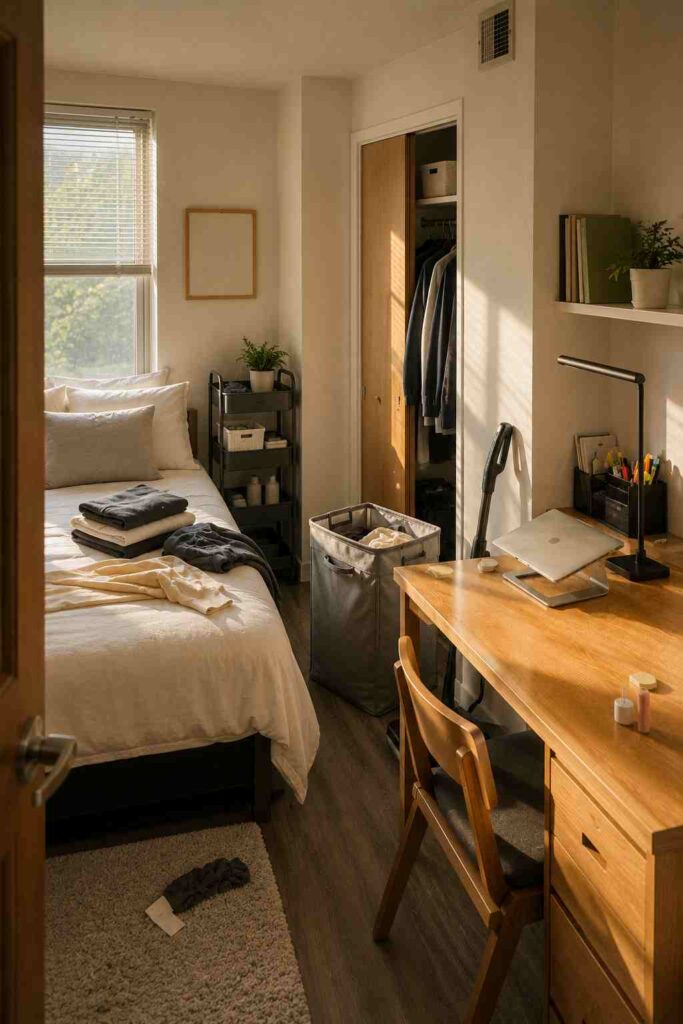
The room is going to get messy, and that is completely normal when you’re living in a small space. The goal is not to keep it perfect every day it’s to create a system that can be reset quickly. That’s where the Sunday Reset comes in. Spend 20 minutes each week putting clothes back in the closet or hamper, clearing your desk, organizing chargers, tidying the floor, and checking whether it’s time to do laundry. A quick vacuum pass helps too.
One simple habit makes this work: the two-place rule. Every item either gets put away immediately or goes into a designated “deal with it Sunday” spot. Avoid leaving things on the desk, chair, or floor with the intention of handling them later. A room that can be reset in 20 minutes is far more realistic and far more useful than a room that stays perfect all semester.
When Your System Lives With Someone Else
Most organization articles are written as if you live alone. You do not. Two people, two definitions of clean enough, one shared space.
Have one real conversation with your roommate before move-in about shared items who brings the mini fridge, the power strip, the vacuum, and the trash can. Showing up and realizing you both brought a mini fridge and neither of you brought a vacuum is a frustrating way to start the semester.
Three rules work for shared spaces regardless of how different your styles are. Floors get cleared at the end of every day. Shared surfaces stay neutral and neither person’s items take them over permanently. Laundry goes in the hamper not the chair because once the chair becomes a laundry pile it never stops being one.
Your roommate does not need to match your organization style on their own side. Shared spaces just need shared rules.
What Not to Do on Move-In Day
Opening every single box before deciding where anything goes is the fastest way to turn a manageable situation into an overwhelming one. Unpack one zone at a time in the order laid out in this article.
Buying storage products before seeing and measuring the actual room is how you end up with three items that do not fit and a receipt you cannot use. Dimensions from the school website are a starting point. Your tape measure is the final answer.
Loading everything onto the desk surface on day one creates a habit of desk clutter that is genuinely hard to break. Start with a clear desk and only add what has an assigned place.
Leaving the back of the door completely bare means you are losing the most storage-efficient space in the room before the semester even begins. An over-door organizer on day one is never regretted.
Treating whatever you set up on move-in day as a permanent finished state is the mistake that leads to everything falling apart by week three. Move-in day is a starting point, not a destination.
Quick Answers Before You Start
How do I start organizing a dorm room from scratch?
Start with the five zone system before opening any boxes. Decide where each of the five zones goes in your specific room layout first — sleep, study, storage, getting ready, and snacks. Then unpack one zone at a time starting with the sleep zone. This approach means you always have one functional area to retreat to even if the rest of the room is still in progress. Starting with a system instead of random unpacking saves hours of backtracking and moving things multiple times.
How do you keep a dorm room organized all semester?
The Sunday Reset is the answer. Spend 20 minutes every Sunday clearing the floor, returning items to their zones, coiling chargers, and running a quick vacuum pass. The goal is not a perfect room every day. The goal is a room that resets in 20 minutes once a week. That is a habit that actually survives contact with a full college schedule, a social life, and the unpredictable reality of sharing a small space with another person for nine months.
What should I do before unpacking on move-in day?
Contact your roommate to divide shared items before you arrive. Get your room dimensions from the school housing website and note where the outlets are. Measure your specific bed frame clearance before buying under-bed storage. Decide your room layout in your head before the first box is opened. These four things done in the week before move-in save hours of confusion and backtracking on the actual day when energy and patience are already running low.
How do I organize a dorm room with a roommate?
Have one honest conversation before move-in about who brings what for shared items including the mini fridge, vacuum, power strips, and trash can. Then agree on three rules for shared spaces: floors get cleared at the end of every day, shared surfaces stay neutral with no one person’s items taking them over permanently, and laundry goes in the hamper rather than the chair. Your roommate does not need to match your organization style on their own side. Shared rules for shared spaces are enough.
How do I make the most of a small dorm closet?
Add a second tension rod below your shorter hanging items to immediately double your hanging space. Switch from plastic to slim velvet hangers to nearly double the capacity of the existing rod. Clip a hanging organizer onto the rod to add shelves for folded items. Use vertical shoe storage along the closet wall instead of floor piles. Keep the closet floor as clear as possible. These four changes together can genuinely double your usable closet capacity without adding any furniture to your room.
You Have Everything You Need
You do not need to do all of this at once. You do not need to finish the whole room on move-in day and you definitely do not need to do it perfectly. Pick one zone and start there and make it the sleep zone because the quality of your first night in a new place matters more than any organization task you could complete.
When that zone is done, move to the next one. By the time the week is over you will have a room that functions. By the time the month is over you will have a room that feels like yours.
Save this pin so you can come back to it during week two when things start to unravel and you need a reset. It happens to everyone and now you know exactly what to do about it.
When you are ready to build out your full shopping list, our 21 dorm room essentials checklist covers every product you need for move-in day. And if your room is on the smaller side, the 11 Amazon finds that make small dorm rooms feel bigger guide pairs directly with the zone system in this article.
Frequently Asked Questions
1: What is the best way to organize a small dorm room?
The best way to organize a small dorm room is to divide it into zones for sleeping, studying, storage, getting ready, and snacks. Using vertical storage, under-bed organizers, and over-the-door storage helps maximize limited space.
2: What should I organize first on move-in day?
Start with your sleep zone first. Make your bed, set up your bedside essentials, and create a comfortable space to rest before unpacking other belongings.
3: How can I create more storage space in a dorm room?
Use under-bed storage bins, over-the-door organizers, rolling carts, hanging closet organizers, and command hooks to take advantage of unused vertical space.
4: How do I keep my dorm desk clutter-free?
Keep only your laptop and desk lamp on the desk surface. Store pens, chargers, notebooks, and other supplies in organizers or drawers to maintain a clean workspace.
5: Are rolling carts worth it for dorm rooms?
Yes. Rolling carts provide flexible storage for snacks, school supplies, toiletries, or coffee stations and can easily be moved around the room when needed.
6: How do I organize a dorm closet efficiently?
Use slim velvet hangers, hanging shelf organizers, a second tension rod, and vertical shoe storage to maximize closet space without adding bulky furniture.
7: What items should be stored under the bed?
Store seasonal clothing, extra bedding, cleaning supplies, luggage, and rarely used items under the bed to free up closet and floor space.
8: How often should I clean and organize my dorm room?
A weekly 20-minute reset is usually enough. Returning items to their designated zones each week prevents clutter from building up throughout the semester.
9: How do roommates stay organized in a shared dorm room?
Roommates should discuss shared items before move-in and establish simple rules for floors, shared surfaces, and laundry storage to keep the room functional.
10: What dorm room organization mistakes should I avoid?
Avoid opening all boxes at once, buying storage products before measuring your room, cluttering your desk surface, and ignoring vertical storage opportunities.
11: Why is the back of the dorm door valuable for storage?
The back of the door can hold shoes, toiletries, accessories, snacks, cleaning supplies, and jackets without taking up any floor space.
12: How do I organize dorm room drawers?
Use the file-folding method to store clothes vertically. This allows you to see every item at once and makes better use of drawer space.
13: What is the dorm room five-zone organization system?
The five-zone system divides the room into sleep, study, storage, getting ready, and snack zones. This method makes organizing and maintaining the room much easier.
14: How can I make my dorm room feel bigger?
Keep the floor clear, use vertical storage, reduce visible clutter, maximize closet space, and choose multifunctional storage solutions like rolling carts and storage ottomans.
15: What should I buy before organizing my dorm room?
Wait until you know your room dimensions and bed clearance before purchasing storage products. This helps ensure organizers fit properly and prevents wasted money.

Simran Shah is a technology writer, graphic designer, and digital content creator with over 4 years of hands-on experience in the Indian tech space. She covers budget smartphones, gadgets, and tech accessories — with a strong focus on helping everyday Indian buyers make smarter purchasing decisions without overspending.
Simran runs two YouTube channels dedicated to AI tools, mobile technology, and automobiles, where she breaks down complex tech topics into simple, actionable content. Her research process involves comparing real specs, reading user reviews, and testing usability — so her recommendations reflect genuine insight, not just specifications copied from brand pages.
As a graphic designer working with tools like Canva and Leonardo AI, she brings a unique visual perspective to tech content — understanding both the product and how to communicate it clearly. Her content has been created with one goal in mind: do the research so you don’t have to.
When she’s not writing or designing, she’s deep-diving into the latest gadget launches, affiliate product comparisons, and AI developments shaping the tech world in India.